Somebody—and I don’t want to look at anybody here—thought I would have massaged a photo with a Photoshop watercolour-filter and sold it as if I did it myself, manually, with a brush. I did not know what to make out of it: feel insulted or flattered? I did not use a Photoshop-filter, for I do not have Photoshop in the first place. On the other side: my watercolours are bad, some are even really bad, I’m pretty sure the Photoshop filter would have done a better job.
So what shall I do about it? Do it again, this time with a camera running along? The only one with a HD camera is my sister and it’s not really a camera just a cell phone which you can’t screw on a tripod for lack of a screw hole in the camera. I could improvise something with some wires, rubber bands, and tape. Nuh, way too much work. A couple of stills will do, too. And the very same thing again? Nuh, boring!
The original was a screenshot from Google Earth, so I “traveled” a bit around the world and found another nice place, this time in Greece. So let’s do it. Well, actually: I’ll do it and all you can do is to helplessly watch the catastrophe building up 😉
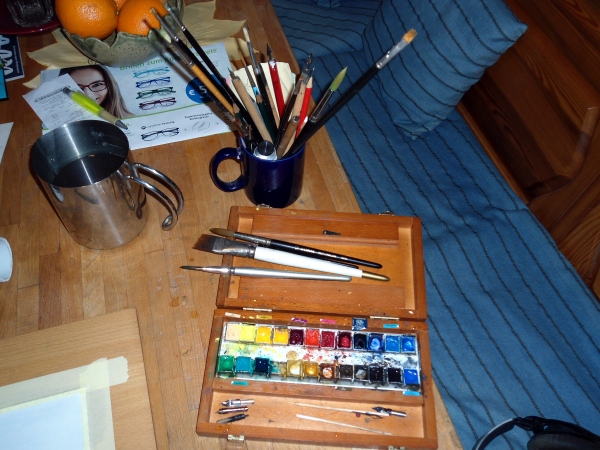
Water (dirty and ready for replacement); a mug full of brushes, pens, pencils, this and that; The watercolours in a nice wooden box made by Royal Talens for their Rembrandt brand (that’s the artist’s quality, the student’s quality is named van Gogh), the pans marked with a sticker are Daler-Rowney, those without are genuine Rembrandt, and, yes, the metal pan-holders rust; some vitamins (“Navel Late”), a leaflet advertising glasses (I really need reading glasses, my arms get shorter and shorter); earphones (Sennheiser HD 570, heavily weared down); and a standard computer monitor at the right hand, just outside of this view.
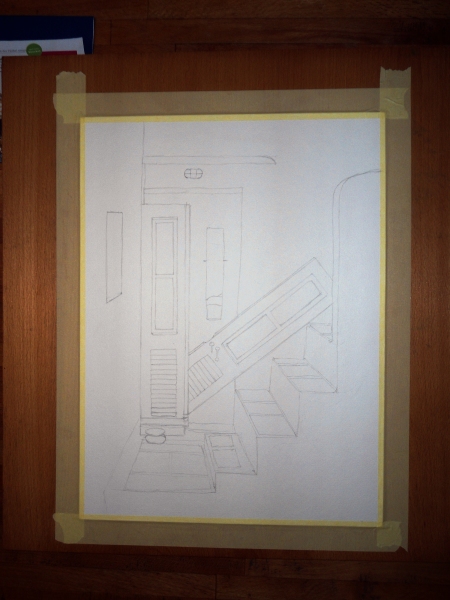
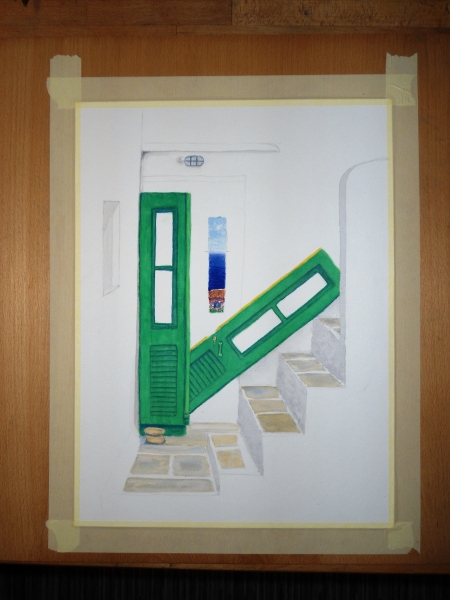
Slightly simplified with some things changed to something more interesting. For the more inquisitive of my readers: it was a H2 pencil. Why? It was at hand, that’s the whole reason, sorry. But if you are more patient than I am and are willing to search for the right tool: the harder the pencil the thinner the lines and the deeper the grooves in the paper, and vice versa. That means that you barely see the lines of the hard pencil but they are hard to erase, the strokes of the soft pencils are broad and highly visible but much easier to remove. The broad lines of a soft pencil are well visible through the watercolour on top but they are easily lightened: just take a kneadable eraser, form a cylinder and roll it over the sketch until you are ok with the result. You can press quite hard as long as you are rolling but sliding (like you would do with a normal eraser) with the same pressure might harm cheap paper. The cheap watercolour papers are not really cheap, neither are the expensive papers (e.g.: Arches, especially the very heavy variants) made from steel, hence be careful.
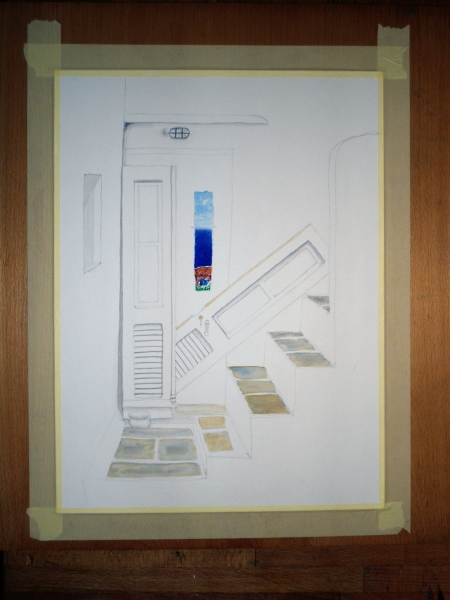
First round: shadows. It is a bit uncommon to do shadows first in watercolour, especially that it is an iron rule to work from light to dark, but a bad watercolourist does not cares for rules. The colour for the shadows were neutral tint (Daler-Rowney, I think it’s made from mars-black and cadmium yellow) and a gray from cobalt and burned umber (both very old Royal Talens colours but still working). The original had some very simple white geometric figures instead of the full house I put in the view through the hole. I should have stayed with the white, I really should, but now it’s too late. Removing watercolour is only possible to a certain extent, you’ll never get your white back.
The stones have been made with some yellow ochre, raw siena and the shadow mix from above.
The sky, the small bit visible in the hole, is made with manganese blue and cobalt blue (Daler-Rowney. Yes, I have two cobalt blues in my set and yes, they are different 😉 ), the sea with pure ultramarine-deep (Royal Talens). The roof got done with a mix of yellow ochre, raw siena and burnt siena to get a terracotta-ish look. The pink flowers with alizarin crimson (Royal Talens) and I think a bit of permanent rose (Daler-Rowney).
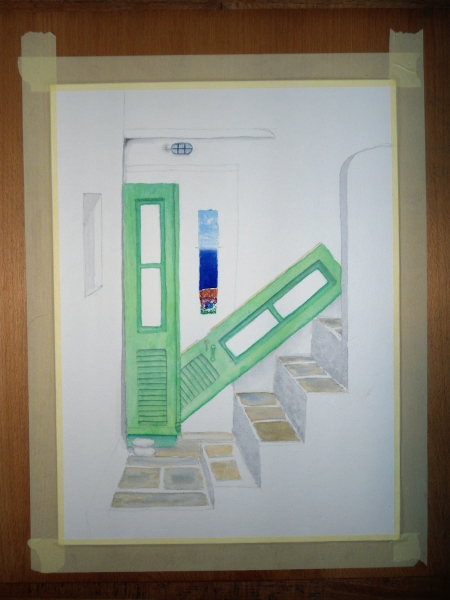
The greens are actually greens, believe it or not: sap green (Royal Talens) and cobalt green (Daler-Rowney). That together with cadmium yellow (Royal Talens) made the first layer(s).
Just more layers of green and some details to fill the drying time with something useful.
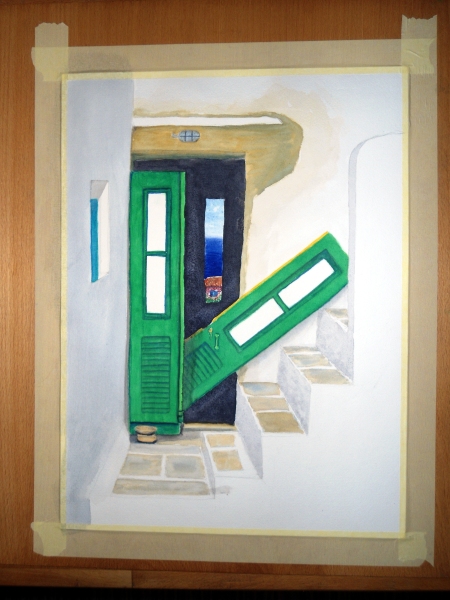
The dark yellow strip at the handle-side of the right door had some gamboge (hue and from Daler-Rowney). No other new colours introduced as far as I remember.
I added some viridian (Royal Talens) to the greens and started to the get the hole black with neutral tint (Daler-Rowney). The rough-cast got a bit too brown but the Greeks are poor people, they cannot afford a lot of cement in their plaster, so it’s mostly sand in the mix—the lime in the whitewash keeps it all together at the end.
The shadow on the right door is a bad accident. I wanted a very thin glaze but had way too much water in it. No problem, just get a paper-towel or a dry brush and suck it up but then the telephone rang…*sigh*
If you don’t know what happened (forgot to make a picture, sorry): the water solvates the underlying colour, given enough time, and the pigments wander to the rim of the water blob because the paper buckles up under the water. It’s not much of a curve, barely visible and only if you have very good eyes (or bad paper) but enough for gravity to do it’s deed. You can’t really repair that kind of mess, only paint over it with a much darker colour.
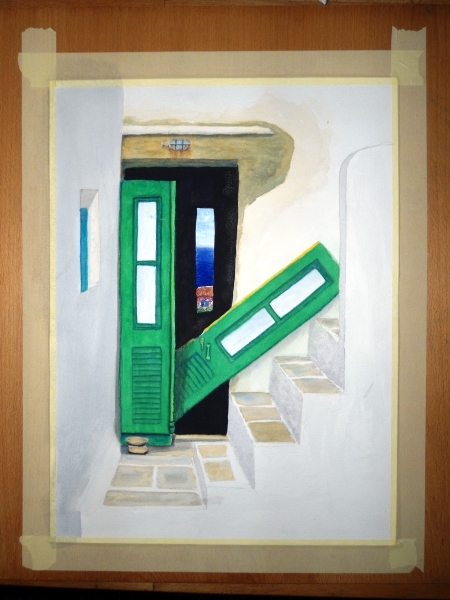
Spend all things some more shadows and added some blue (cobalt blue, by both producers) to the green doors for some contrast. The village is at the sea, so everything that has even the smallest amount of iron in it starts to rust, as does the lamp (which was nothing more than a whitish blob in the original). Burnt siena makes good rust (you might add some burnt umber to to deepen the shadows of the rust but I wanted only a hint of rust here, so burnt siena alone was enough).
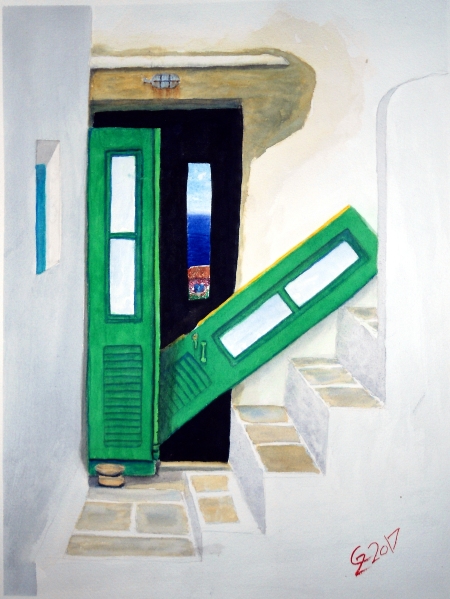
After some more layers, details, shadows and a bit of texture to the walls with a very dry brush of the grey-mix from above before I gave up, signed it (Cadmium red by Royal Talens) and called it a picture. No, wait, one extra note because it is not very visible in the picture: the shadows around the doors got a hint of green (sap-green, I think) into it.
Yes, I’m bad at watercolours, admitted, but it was fun to do 😉

